3D scanning
Creating 3D models from points
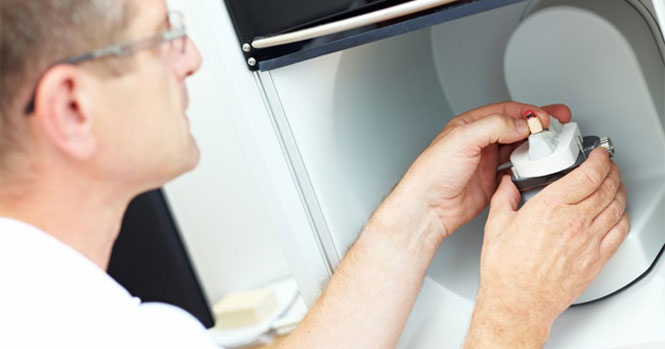
3D models do not always have to be constructed from scratch using CAD programs. As a reverse engineering process, 3D scanning allows real objects to be captured and quickly transformed into printable 3D datasets. The object to be copied is recorded optically or scanned using a scanner. This process results in countless individual scanning points that together form a point cloud that can be transformed into a polygonal surface mesh. From this surface mesh an STL file is then derived and can be processed by the 3D printer.
There are various technical designs for 3D scanners, including laser scanners and structured light projectors. Both devices consist of a scanner and one or more fixed cameras. Although recording of the object is based on the triangulation method in both types of scanner, the scanning processes themselves vary.
Laser Scanner
The laser scanner projects a line or a mesh on the surface of the component facing it. An integrated camera records the position of the laser points on the object and the distance between sensor and object. This information is used to determine the distance between the object and the laser scanner. The laser beams move over the object until it has been scanned completely. The light beam is deformed at the points where the laser hits the surface of the object. These deformations are recorded as height profiles and compiled to form a 3D point cloud.
Structured Light Scanners
Structured light scanners (also referred to as white light scanners) project a pattern of lines onto the surface of the object and survey it fully by evaluating the light intensity of each individual camera pixel. This technology produces a significantly higher density of measurement points than a laser scanner. Such high-resolution data is required whenever the printed object must match the template precisely or must complement it, for example in the production of tooth implants or for tool alignment. Structured light projection can be used only with stationary objects, as movements in the object can lead to errors in the model during the scanning process.
3D modeling using a scanning process has the disadvantage that only external shapes can be reproduced, while internal structures remain concealed. 3D objects with internal functions or structures, such as close-contoured cooling channels, cannot be captured by the scanner and must be designed using a CAD program. Transparent or reflective components are also difficult for a 3D scanner to capture. To make them “visible” to the scanner, these are dusted with a thin layer of powder before the scanning process.


